PushWoosh for WP-AppKit is an add-on for WP-AppKit. It aims to manage PushWoosh notifications with WP-AppKit. It currently supports and is tested with Android only.
How To Setup
First things first, this add-on only works with PushWoosh: https://www.pushwoosh.com/. You can see its documentation here for more details and features: https://cp.pushwoosh.com/v2/docs.
To start with setuping push notifications within your WP-AppKit app, you need a PushWoosh account.
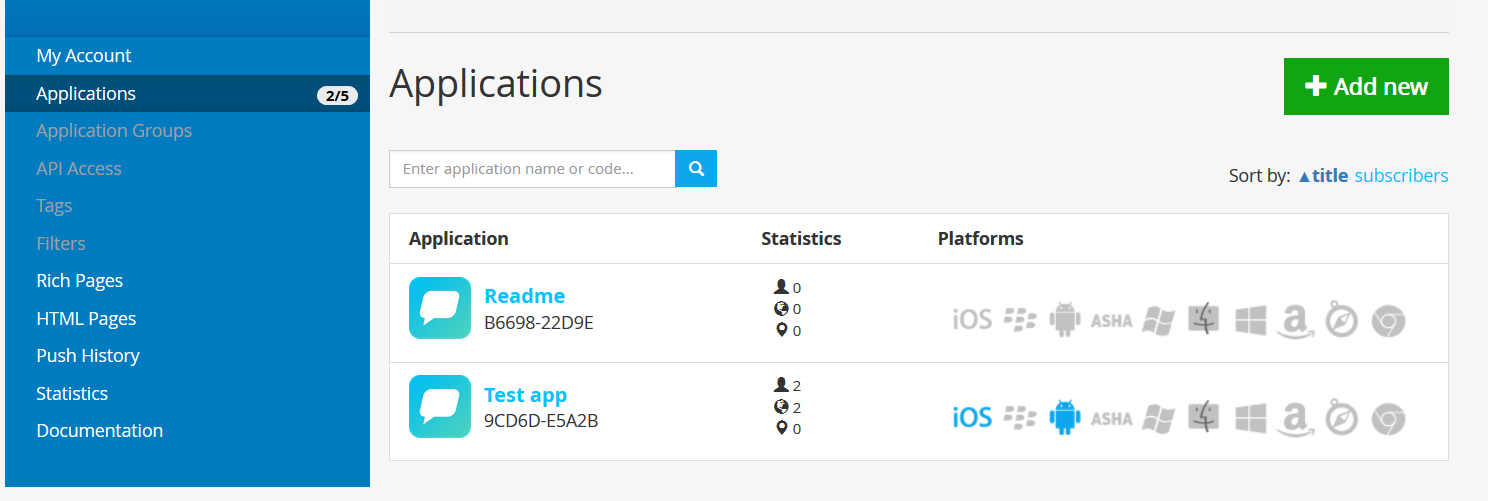
When logged in, you can manage your applications and the platforms each one is supporting through your PushWoosh dashboard.
As soon as you have setup your PushWoosh applications properly configured, you can install and activate PushWoosh for WP-AppKit add-on:
- Install and activate PushWoosh for WP-AppKit as you would do for any other WordPress plugin
- Edit the app you want to use the add-on with
- Check the add-on to use with your app in the Add-ons metabox
- Save your app
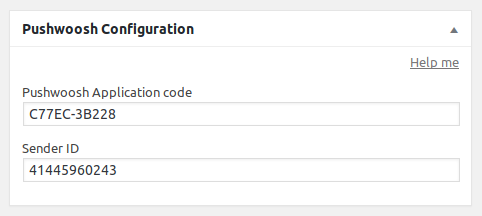
- When done, your app’s edit panel has a new metabox: PushWoosh Configuration
From there, configuration is different for iOS and Android.
For iOS:
- Simply paste the PushWoosh Application Code
For Android:
- Paste the PushWoosh Application Code
- Paste the Sender ID (found in the Firebase console)
At last, save your app to save the add-on’s configuration.
You need to register your app (create a project) in your Firebase account. The global configuration between Firebase and Pushwoosh is detailed here: http://docs.pushwoosh.com/docs/fcm-configuration.
What you’ll need regarding this add-on is to copy/paste 2 things to your WP-AppKit app edition screen, in the “Pushwoosh configuration” box:
- Pushwoosh Application Code: something like C77EC-3B228, found in Pushwoosh by clicking on your App.
- Sender ID: something like 41445960243, found in Firebase or in Pushwoosh by clicking on your App then “Configure”, then “Android” > “Edit”.
 Then save your WP-AppKit app.
You can now export it, build it on PhoneGap Build and test to send pushs from Pushwoosh!
You need to register your app in your Apple Developer account. The global configuration between Apple and PushWoosh is detailed here (Mac OSX only): http://docs.pushwoosh.com/docs/apns-configuration.
If you want to create the needed certificates from Windows, you’ll find some help below. You’ll first need the openssl command line, for example by downloading OpenSSL binaries (https://www.openssl.org/community/binaries.html), or any tool that will bring you UNIX CLI commands (Cygwin, Git bash for Windows, etc.).
Execute these commands:
openssl genrsa -out mykey.key 2048
openssl req -new -key mykey.key -out CertificateSigningRequest.certSigningRequest -subj "/emailAddress=yourAddress@example.com, CN=John Doe, C=US"
Execute these commands:
openssl x509 -in apple_certificate.cer -inform DER -out apple_certificate.pem -outform PEM
openssl pkcs12 -export -inkey mykey.key -in apple_certificate.pem -out exported_certificate.p12
Then, enter the password. You’ll need to enter it in PushWoosh configuration later.
One thing you need to understand here is that these certificates are only useful for PushWoosh to communicate with Apple servers, you’ll then need to get different certificates to be able to build and deploy your application.
Sources for certificates generation with Windows:
- http://help.adobe.com/en_US/as3/iphone/WS144092a96ffef7cc-371badff126abc17b1f-8000.html
- http://help.adobe.com/en_US/as3/iphone/WS144092a96ffef7cc-371badff126abc17b1f-7fff.html
If you want to use the “Test devices” PushWoosh feature, you may need to know your iOS device push token.
You can see this snippet to see how to retrieve it, using Xcode or displaying it directly in your app.
Deep Links
Since WP-AppKit natively supports Deep Linking, this add-on just adds the ability to use it from notifications.
Deep Linking is a feature letting you open a specific screen of your app thanks to a single external link. This is especially useful when you are sending push notifications to your users and you want them to see a specific landing page when clicking on the notification.
This add-on lets you achieve this goal, even with the free PushWoosh plan.
If you don’t pay a subscription, you can still use WP-AppKit Deep Linking feature only by using the “URL” action.
This time, you’ll have to pass the whole URL, including your custom URL scheme to PushWoosh. Remove the default “http://” value from “URL” field, and type in your custom URL. It should follow this format:
customurlscheme://[route]
For example, to open the page with ID 1, included into the “all-pages” component, type in the following value:
customurlscheme://page/all-pages/1